

I inherited a 10-inch tablet and proceeded to spend way too much time getting it up and running. Not knowing the pass code, I did a factory reset then thought I had
bricked it because it refused the account (until I realized I was using
the wrong Google account). But yay, it's working now.
I mostly wanted it for an occasional e-reader and to use for some online recipes so I don't worry about spilling flour all over my laptop's keyboard. I needed a cover to keep it clean and projected an room for the charging cord.
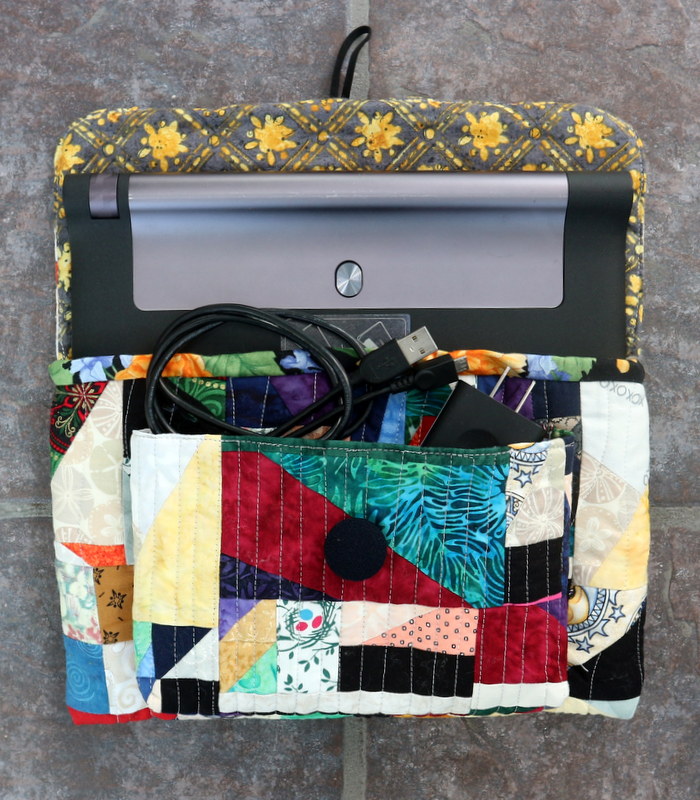
I have so many other projects to be working on, so I wanted this to be a
quick, easy task. I had recently put together some crumb quilting
fabric. One of the pieces was nearly the perfect width and height for
the tablet. No need to piece something new! I added another
crumb piece to it and wavy quilted it to a double layer of batting (which had
also been pieced together).
Another crumb piece was pocket-sized. I stitched backing and a single layer of
batting to one edge, flipped it right sides out and straight line quilted
that. I trimmed the side and squared the bottom two corners
so the pocket would be about ¾" deep. Sewing it onto the front of the cover was
hard work - it was tight corners, a lot of layers and I kind of eyeballed
where it should go. It has raw edges on the insides, but no one will
ever see it. Not bad.

I stitched the sides together and confirmed the tablet would fit. Next
up - some lining. I cut a piece roughly the same size as the
cover, and sewed another layer of batting the bottom section. At this
point I discovered that all that batting takes up more space than it
looks. As I did each piece, I made sure the tablet would fit.
Suddenly it didn't. I had to clip out some of the batting before it
would all go together.
I wanted to put a loop closure on the top and I couldn't figure out how to
make that work with a bound edge. I stitched the lining to the
flap right-sides together with the loop stitched in place in the center. I
turned everything right-sides out, then top-stitched around the edge of the
flap top keep the lining from rolling out. I bound the top edge of the main pocket to finish off
the remaining raw edges. I even remembered to add in a little label
before I stitched it all down.
Once I hand-stitched the back side of the binding, all it needed was a big
button on the outside pocket.
Voila!
It's amazing how quickly the sides shrunk when adding batting; the top flap could have actually been a little longer, too. Think this will stick in my head for next time? Probably not.
Between the crumb cloth and frankenstein batting, this was a seriously leftover project! I love how it looks. So many bright colors - I recognize fabrics from at least five different quilts. I love cleanup projects like this. Just what I needed!
Sharing with:
Confessions of a Fabric Addict - Can I get a Whoop-Whoop?
Wendy's Quilts and More - Peacock Party
so cute! And great idea to use it for reading or recipes! Good save, I'd never have figured it all out
ReplyDeleteThat is a great case for your tablet! Although it sounds like some parts of the construction were challenging, I think it turned out perfectly!
ReplyDeleteVery nice! All the fabrics fit well together. I love the term, crumb fabrics.
ReplyDeleteA plastic spiral notebook cover layer can stiffen as well as add a protective shield for the screen.
Hi again! What a fabulous use of scraps. You would never know you hadn't planned this out. It's just so happy looking!! I'll bet all that batting keeps the reader nice and comfy in its new home. {{Hugs}} ~smile~ Roseanne
ReplyDelete